


How to Install and Use a Hydraulic Breaker on an Excavator
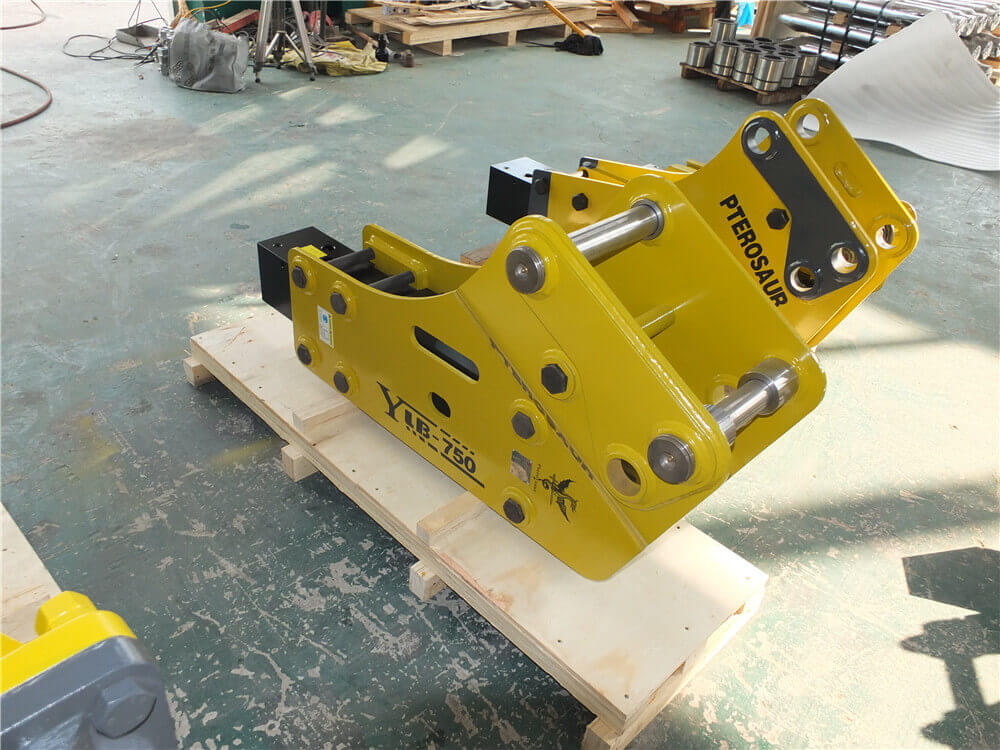
A hydraulic breaker, also known as an excavator jackhammer, is a powerful attachment designed for excavators. This essential tool is utilized in construction and demolition projects to break through tough materials such as concrete, rock, and asphalt. This article will guide you through the installation and effective use of a hydraulic breaker on your excavator.
What is a Hydraulic Breaker?
Hydraulic breakers are heavy-duty tools that deliver high-impact force to break down stubborn surfaces. They are commonly used in various applications, including primary rock excavation, secondary rock breaking, and demolition tasks. Depending on the size and power of the excavator, hydraulic breakers can vary in size and efficiency.
Key Benefits of Using a Hydraulic Breaker
- Efficiency: Hydraulic breakers can significantly reduce the time and effort required to break tough materials compared to traditional methods.
- Versatility: They can be adapted for use on various excavators, ranging from mini to larger models, making them suitable for different projects.
- Reduced Noise and Vibration: Modern hydraulic breakers are engineered to minimize noise and vibration, enhancing operator comfort and safety on site.
How to Install a Hydraulic Breaker
Step 1: Gather Necessary Tools and Equipment
Before installation, ensure you have the following:
– Hydraulic breaker attachment
– Appropriate mounting brackets
– Wrenches and tools for securing fittings
– Safety gear, including gloves and goggles
Step 2: Prepare the Excavator
- Turn Off the Excavator: Ensure the machine is turned off and on a stable surface.
- Remove the Existing Attachment: If there is an existing attachment on the excavator, safely detach it by following the manufacturer’s guidelines.
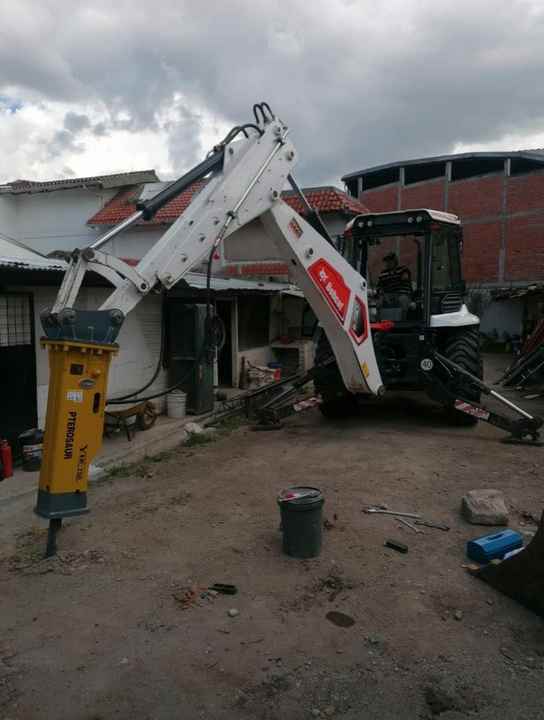
Step 3: Attach the Hydraulic Breaker
- Align the Breaker: Position the hydraulic breaker in line with the excavator’s mounting points.
- Secure the Breaker: Use the necessary brackets and hardware to secure the breaker tightly to the excavator arm. Make sure all connections are tight to avoid any accidents during operation.
- Connect Hydraulic Hoses: Attach the hydraulic hoses from the breaker to the excavator’s hydraulic system. Ensure there are no leaks.
Step 4: Test the Installation
Before commencing full operations, conduct a test run:
– Start the excavator and activate the hydraulic breaker at a low pressure.
– Observe for any unusual noises or leaks in the hydraulic system.
Best Practices for Using a Hydraulic Breaker
- Know Your Materials: Different materials will require different approaches. For instance, breaking reinforced concrete might require more force than simple asphalt.
- Use Proper Techniques: Maintain a steady and controlled pace when using the breaker to avoid damaging the excavator or the attachment.
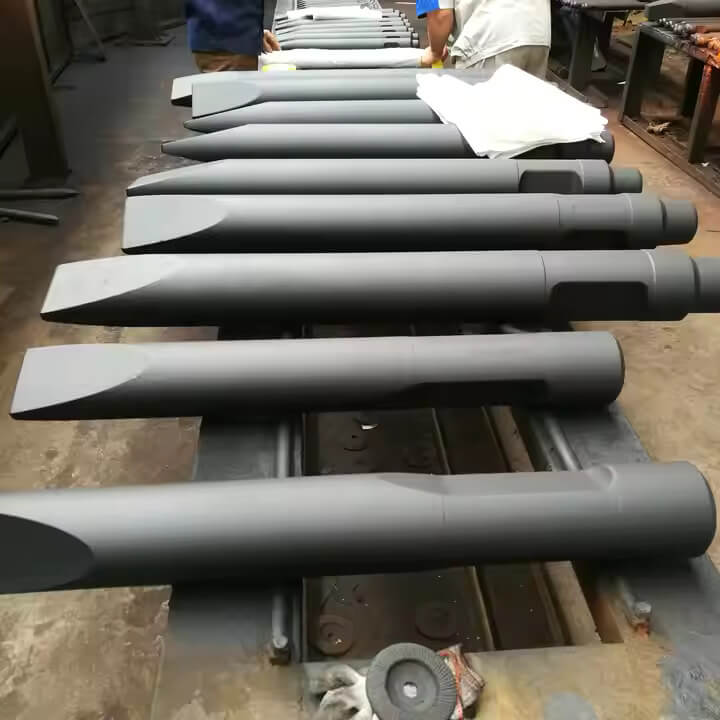
- Monitor Wear and Tear: Regularly inspect the breaker for signs of wear, especially the chisel or point. Replace parts as needed to maintain performance.
Conclusion
Hydraulic breakers are invaluable tools for any construction or demolition project that involves breaking through tough materials. By following the proper installation and usage techniques, you can maximize the efficiency and lifespan of both your hydraulic breaker and excavator. Ensure to prioritize safety and regular maintenance to keep your equipment in optimal working condition.
Additional Resources
For further learning, consider checking out videos and guides on platforms like YouTube, where professionals share their tips on using hydraulic breakers effectively. This can provide you with practical visual guidance and insights from experienced operators.