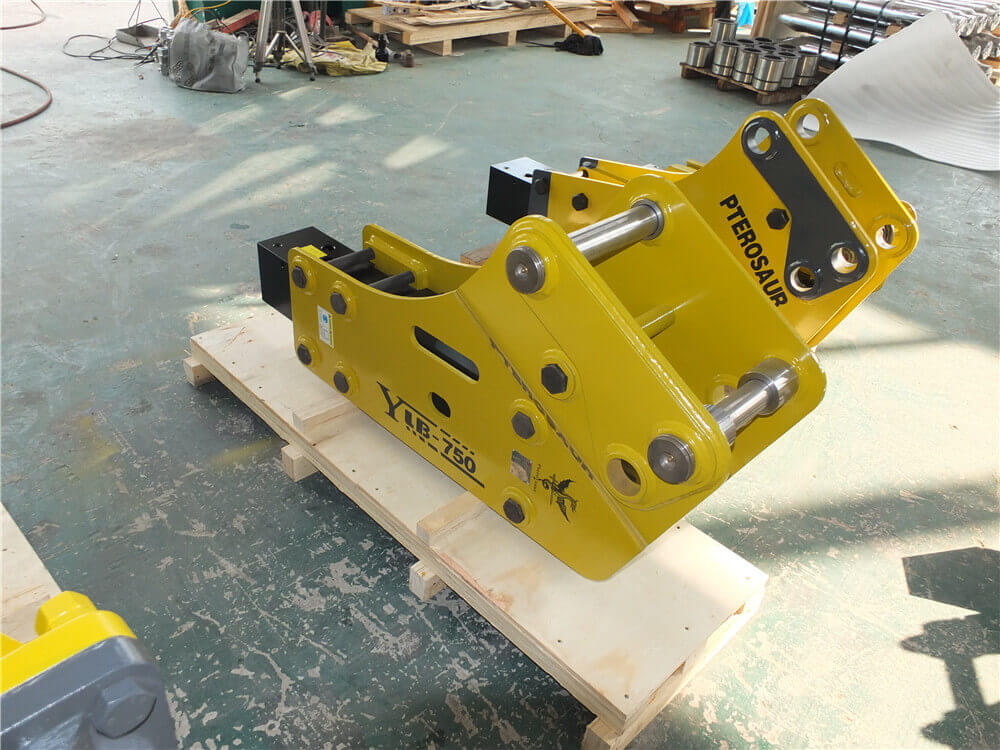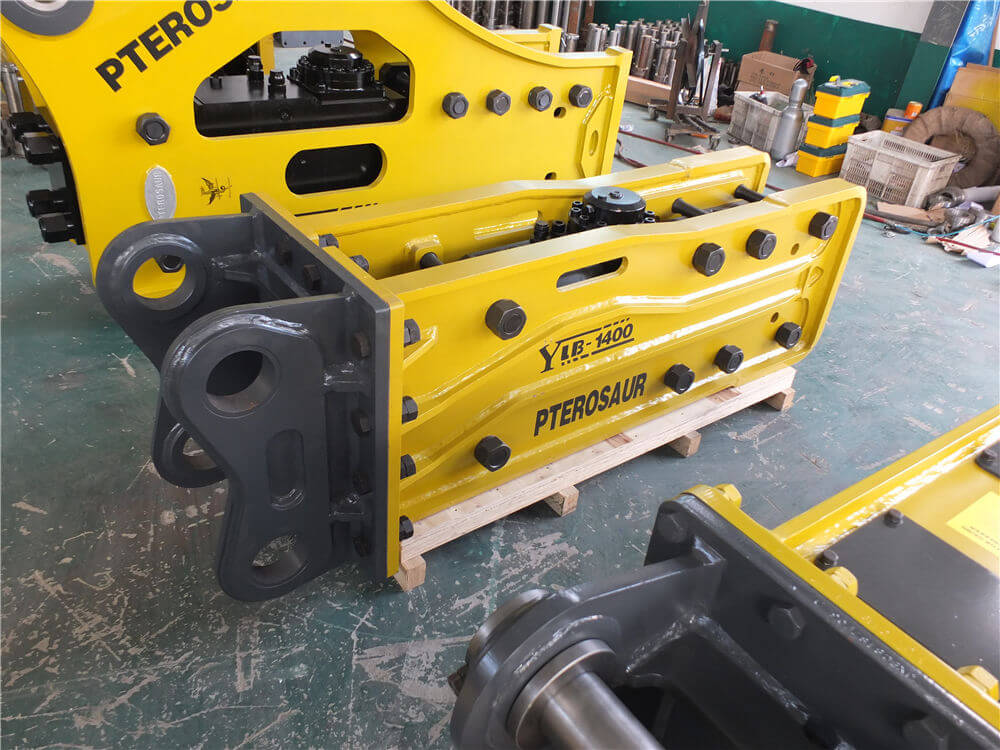
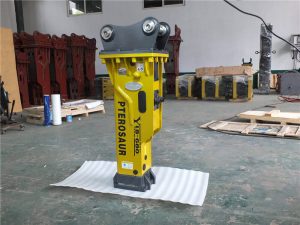


How to Change a Bit on a Hydraulic Concrete Breaker Attachment
Hydraulic concrete breakers are essential tools in demolition and construction, allowing users to effectively break through hard materials such as concrete, rock, and asphalt. One critical maintenance task is changing the bit of the hydraulic breaker. This article provides a detailed guide on how to safely and efficiently change a bit on a hydraulic concrete breaker attachment.
Safety First: Preparing the Breaker
Before you begin any maintenance on your hydraulic breaker, ensure you follow these safety steps:
- Position the Breaker: Make sure the hydraulic breaker is in a horizontal position to prevent any accidental falls.
- Disconnect Hoses: Ensure that the hydraulic hoses are completely disconnected from the breaker to avoid any hydraulic pressure issues during the bit change.
- Protect Your Feet: The bits used in hydraulic breakers are heavy, and a falling bit can cause serious injury. Be cautious and consider wearing steel-toed boots for added protection.
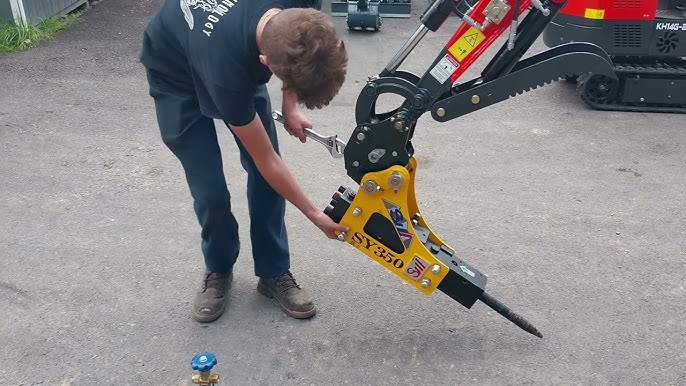
Step-by-Step Guide to Changing the Bit
1. Remove the Top Pin
Using a punch and hammer, carefully remove the top pin that holds the bit in place. This step is crucial for loosening the bit from the holder dowel.
2. Inspect the Bit and Retaining Pin
Once the pin is removed, take out the tool bit. It’s important to inspect both the bit and the retaining pin:
- Check for Damage: Look for any signs of wear or damage on the bit. If you find burrs or any irregularities, grind them down to ensure a proper fit for the new bit.
- Retaining Pin Condition: Inspect the retaining pin as well; any signs of wear may necessitate replacement.
3. Install the New Bit
After ensuring that the new bit is in good condition, insert it into the holder. Align it properly to ensure it fits securely in place.
4. Reinsert the Top Pin
Once the new bit is in place, reinsert the top pin to secure it. Make sure it is firmly in place to prevent any movement during operation.
5. Reconnect Hydraulic Hoses
After the bit is securely installed, reconnect the hydraulic hoses to the breaker. Ensure that all connections are tight and leak-free.
6. Test the Breaker
Before returning to work, test the hydraulic breaker to ensure it operates correctly with the new bit. Check for any unusual noises or malfunctions.
Maintenance Tips
To prolong the life of your hydraulic breaker and its bits, consider the following maintenance tips:
- Regular Greasing: Grease the breaker every two hours of operation. This helps keep the tool functioning smoothly and reduces wear.
- Frequent Inspections: Regularly inspect the bit and retaining pin for wear, and replace them as necessary.
- Follow Manufacturer Guidelines: Always refer to the specific service manual for your Bobcat hydraulic breaker model (such as the HB series) for detailed maintenance and operation instructions.
Conclusion
Changing the bit on a hydraulic concrete breaker attachment is a straightforward process that, when done correctly, can enhance the tool’s performance and longevity. Always prioritize safety and follow the necessary steps to ensure a successful bit change. For more detailed service and repair instructions, consult the Bobcat Hydraulic Breaker Service Manual, which provides comprehensive guidelines tailored to your specific model.
By adhering to these protocols, you can keep your hydraulic breaker in optimal condition, ensuring it remains a powerful asset in your demolition and construction projects.